Common Beginner Mistakes in Concert Photography
Learn the most common mistakes new concert photographers make and how to improve your camera settings, lighting awareness, and composition when shooting live music.
The first few concerts I photographed were a mess. Blurry images, blown out stage lights, missed moments... the whole thing felt chaotic.
I remember thinking that maybe I just was not cut out for concert photography.
But after talking with other photographers, I realized something comforting. Everyone makes the same mistakes in the beginning.
Concert photography is one of the hardest photography genres to learn. The lighting is unpredictable, performers move constantly, and the environment can be crowded and chaotic. That combination leads to a lot of beginner concert photography mistakes.
The good news is most of these problems are easy to fix once you understand what is happening.
In this guide we break down the most common mistakes new concert photographers make, why they happen, and how to improve your results quickly.
If you are still learning the broader fundamentals, read Concert Photography for Beginners: A Complete Starter Guide. If you are trying to break into local shows with no experience, read How to Start Concert Photography With No Experience.
Using Shutter Speeds That Are Too Slow
One of the first mistakes I made in concert photography was using shutter speeds that were way too slow.
At one show I remember trying to photograph a guitarist during a solo. I checked the image on the back of the camera and it looked like he had six arms. Motion blur everywhere.
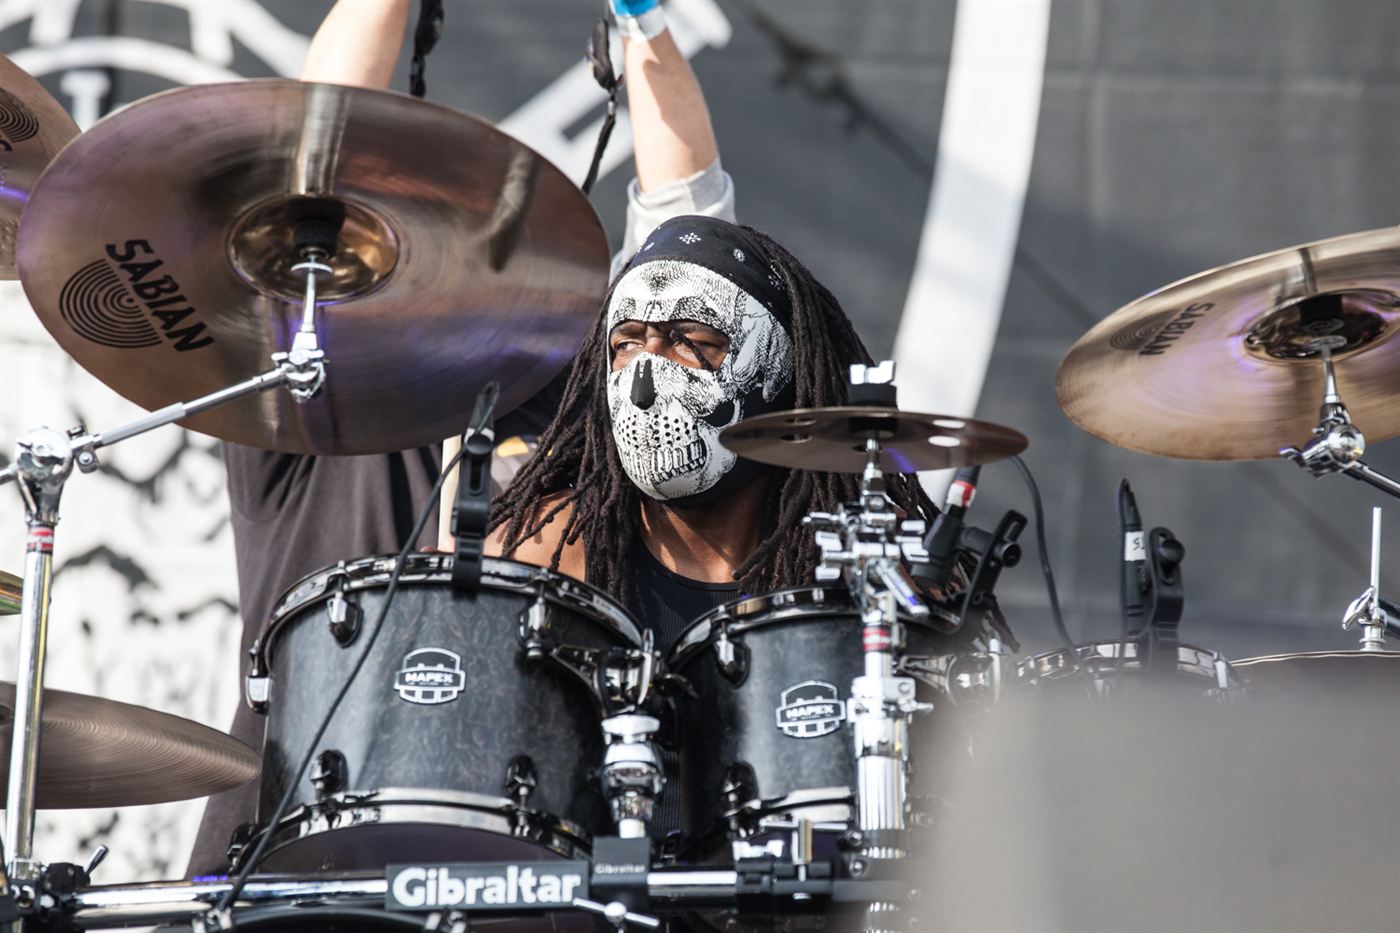
Musicians move a lot more than people expect.
Singers pace across the stage. Guitarists jump. Drummers move their arms constantly. If your shutter speed is too slow the camera simply cannot freeze the movement.
A good starting point for concert photography shutter speed is:
- 1/200 for slower performers
- 1/320 for most bands
- 1/500 for energetic performers
Those numbers might seem high at first. The problem is venues are dark, so raising shutter speed usually means raising ISO too.
That tradeoff is worth it.
A slightly noisy photo is usually fine. A blurry photo is basically useless.
When learning concert photography camera settings, shutter speed should almost always be prioritized over noise concerns.
Relying Too Much on Auto Mode
Another mistake beginners make is relying heavily on automatic camera modes.
Auto mode works great in daylight photography. In concert photography it struggles badly.
The camera looks at the scene and tries to brighten everything. The problem is concert lighting has very strong contrast. Bright spotlights mixed with dark backgrounds confuse the camera's meter.
The result is usually overexposed faces or completely blown highlights.
Learning to use manual mode or aperture priority changes everything.
If you need a fuller breakdown of the exposure triangle in live venues, see Concert Photography for Beginners: A Complete Starter Guide.
Once you control the exposure triangle, you can make quick adjustments when lighting changes.
The three settings you will work with most are:
- ISO
- Aperture
- Shutter speed
Understanding how those three interact is one of the biggest improvements beginners can make in concert photography settings.
Using the Wrong Lens for Low Light
For a long time I tried shooting concerts with a slow kit lens. Something like f/3.5 to f/5.6.
It was a struggle.
The lens simply did not let in enough light. My ISO had to go extremely high and shutter speeds were still too slow.
Concert photography really benefits from fast lenses.
A lens with an aperture around f/1.8 or f/2 lets in significantly more light. That means faster shutter speeds and lower ISO.
Some beginner friendly lenses include:
- 35mm f/1.8
- 50mm f/1.8
- 85mm f/1.8
A lot of photographers spend money upgrading camera bodies first. In low light situations, a better lens often makes a bigger difference.
That is something I wish I understood earlier.
If you are still trying to build your first kit and find your first shows, read How to Start Concert Photography With No Experience.
Ignoring Stage Lighting Patterns
Stage lighting is one of the most important parts of concert photography.
Early on I did not pay attention to it at all. I just kept shooting continuously hoping something good would happen.
That approach does not work very well.
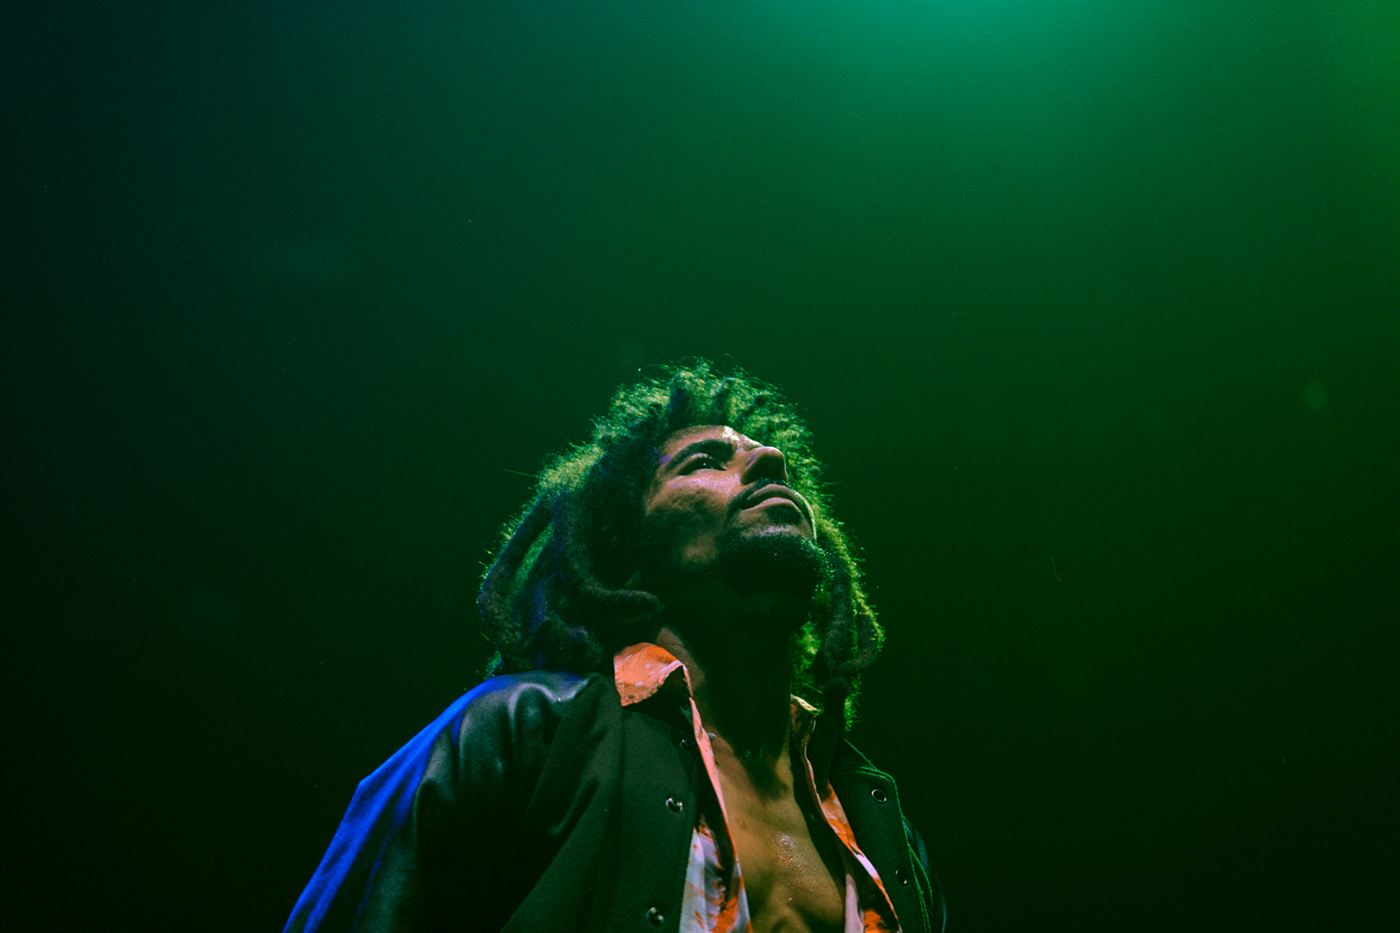
Stage lights follow patterns. They cycle through colors and intensities during songs. Once you start watching the lighting instead of just the musicians, you will notice moments where everything lines up.
A spotlight hits the singer's face. A backlight creates a dramatic silhouette. A beam of light cuts across the stage.
Those moments last maybe one second.
Experienced concert photographers anticipate those lighting moments and wait for them.
Timing becomes everything.
Centering Every Photo
Another mistake I made early in concert photography was putting the musician dead center in every single frame.
It sounds small, but when I looked back at my images later they all felt the same. Singer in the middle. Guitarist in the middle. Drummer in the middle. Over and over again.
Technically fine photos maybe, but visually kind of boring.
Most beginners do this without realizing it.
When you are new to live music photography, your brain is focused on getting the shot at all. The lighting is crazy, the musicians are moving, and you are just trying to keep them in the frame.
So the safest instinct is to put the subject right in the middle. But centering every photo removes a lot of visual interest.
Once I started paying attention to composition, things changed a lot. Instead of always centering the performer, I began placing them slightly to the left or right of the frame.
That simple shift immediately made the images feel more dynamic.
One concept that helped me was the rule of thirds.
Imagine dividing your frame into a grid with three vertical and three horizontal sections. Instead of placing the musician directly in the center, place them along one of those grid lines. The photo suddenly feels more balanced and intentional.
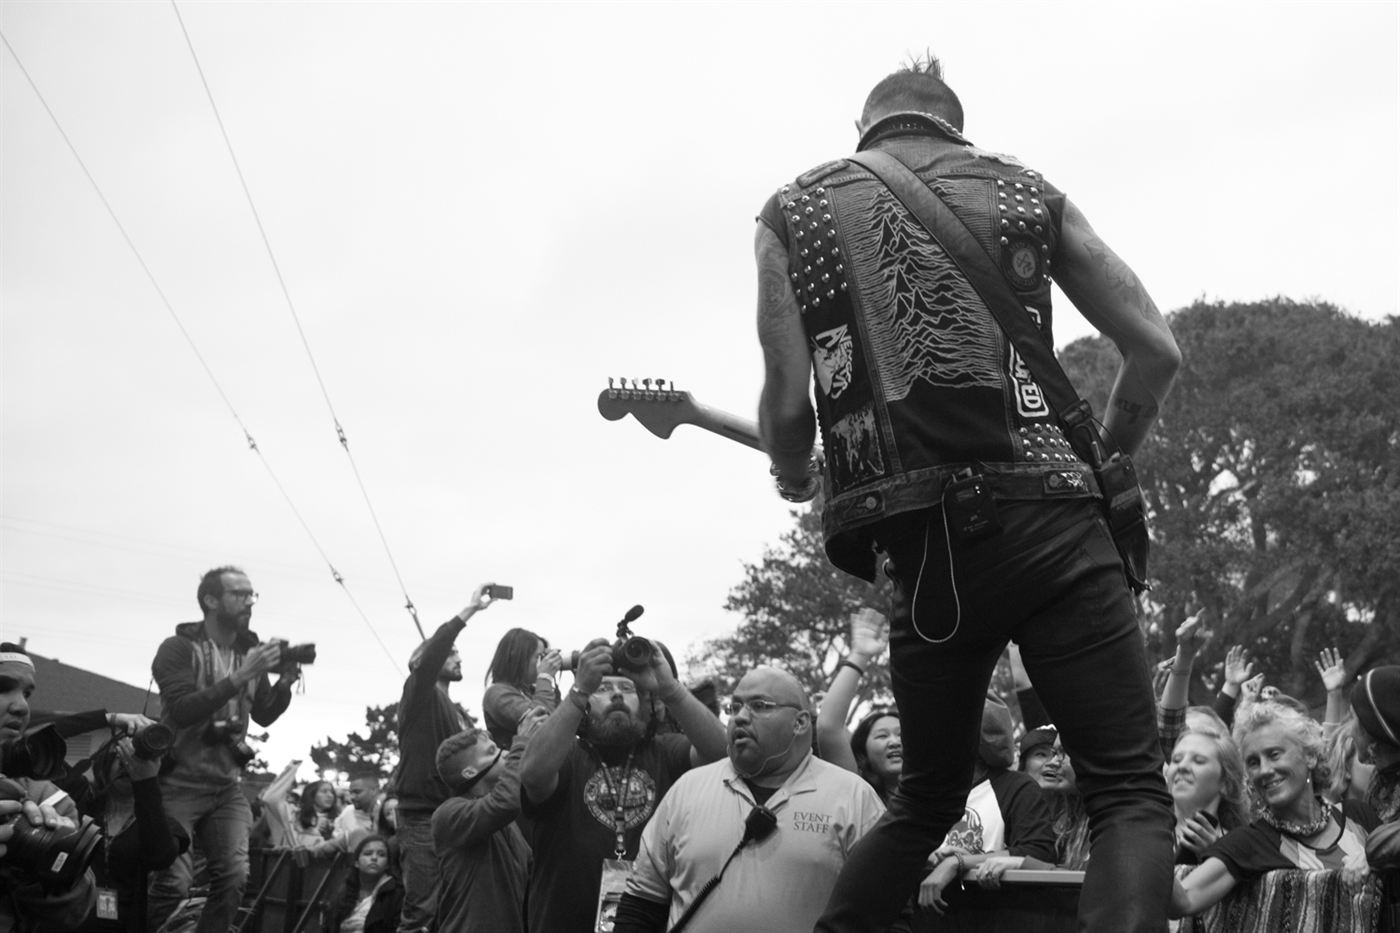
Another thing that improved my photos was including more of the environment.
Concerts are not just about the musician. The stage lights, the crowd, the smoke, even the venue architecture can add a lot to the story of the image.
Some of my favorite photos happened when I backed up a little and allowed the scene to breathe.
Try experimenting with compositions like:
- Placing the singer off to the side while stage lights fill the rest of the frame
- Capturing a guitarist with the crowd visible behind them
- Framing the drummer through another band member
- Using negative space created by stage lighting
Those small changes make the photos feel less like documentation and more like storytelling.
A good habit during shows is to remind yourself to mix things up. Take a few tight shots of the performer, then step back and capture a wider image that includes the stage or audience.
Over time you will notice that concert photography composition improves naturally once you stop centering everything.
The musician is still the subject of the photo. You are just giving the moment a little more space to live in the frame.
Overshooting Instead of Waiting for Moments
Beginners often take thousands of photos at a single show.
I definitely did.
The thinking is simple. If I shoot enough photos, one of them must be good. The problem is this approach turns into random spraying.
Concert photography works better when you anticipate moments.
Watch performers closely. Musicians often repeat physical movements before important parts of songs.
Things like:
- A singer leaning toward the crowd
- A guitarist preparing for a jump
- A drummer building into a chorus
Those moments are easier to capture when you are watching carefully instead of shooting constantly.
Patience improves results more than people expect.
Ignoring the Crowd and Environment
Great concert photos are not always just the band.
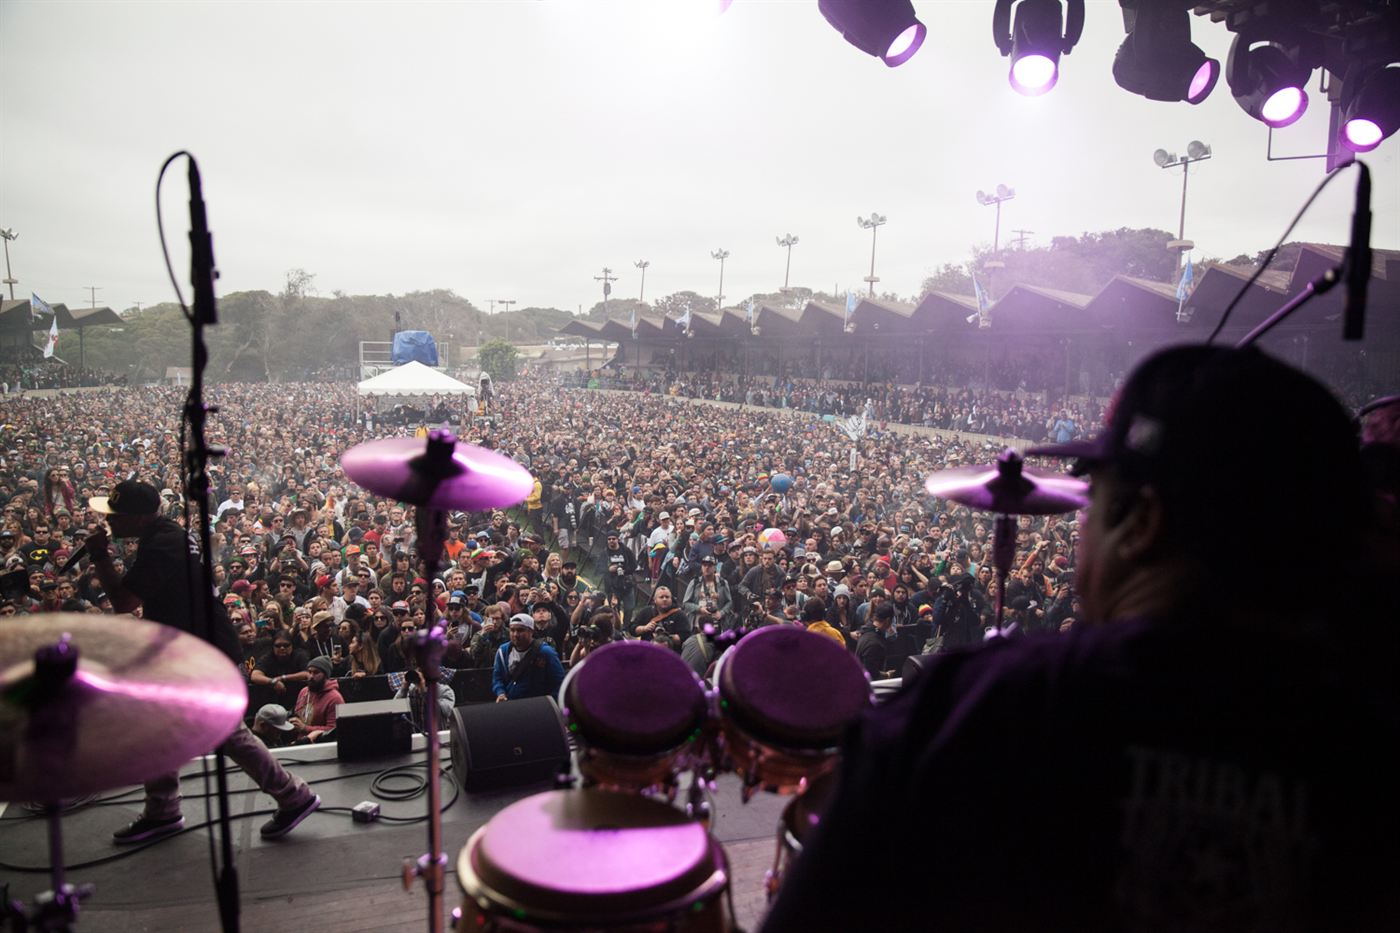
Some of the most powerful images include the crowd.
Fans raising their hands. People singing along. Silhouettes of the audience in front of bright stage lights. Those elements add context to the photo.
When I started including the environment in my photos, the images immediately felt more alive.
Try shooting wider frames that include:
- Audience silhouettes
- Stage lighting
- Venue atmosphere
Those elements help tell the story of the show.

Not Shooting in RAW
For a long time I shot JPEG because it seemed simpler.
Concert lighting quickly proved that decision wrong.
Stage lights create extreme colors. Deep reds, purples, and blues can easily ruin white balance. JPEG files have very limited flexibility when editing those problems.
RAW files hold much more information.
With RAW you can:
- Recover highlights
- Adjust white balance
- Reduce noise more effectively
Most professional concert photographers shoot RAW for concert photography because it provides much more control during editing.
Switching to RAW improved my results almost immediately.
Burning Bridges
This one is not talked about as often but it is important.
When you photograph bands, your images often pass through several people. Tour managers, venue staff, promoters, publications. At some point your photos may get used without permission.
That happened to me once when a band printed flyers using a photo taken by another photographer. His name was even still on the image.
Situations like that can make people angry fast.
One lesson I learned is not to react emotionally. When something like that happens, wait until the next business day and send a professional email.
Many times there is no malicious intent. Staff members simply share images quickly without thinking about credit or licensing.
I still occasionally find my photos appearing in articles without permission.
When that happens I send a polite message offering the use of the images for a reasonable fee. Most publications either pay for the photo or remove it.
Keeping communication professional helps avoid unnecessary conflict.
Conclusion
Every photographer makes mistakes when learning concert photography. Blurry images, missed lighting moments, and exposure problems are part of the process.
Most beginner concert photography mistakes come down to a few core issues:
- Slow shutter speeds
- Poor camera settings
- Misunderstanding stage lighting
- Lack of movement while shooting
Once those issues are corrected, photo quality improves quickly.
The best way to improve is simple. Shoot more shows. Experiment with concert photography settings, study stage lighting, and review your photos afterward.
Over time your instincts sharpen.
And eventually those moments that once felt impossible to capture start appearing right in your viewfinder.