Concert Photography for Beginners: A Complete Starter Guide
Learn the fundamentals of concert photography, including gear, camera settings, low light techniques, and how to shoot your first live music show.
Concert photography looked simple from the outside the first time I tried it. A band on stage, some cool lights, crowd energy... how hard could it be?
I walked into a small club with a camera and a cheap kit lens thinking I was about to capture something amazing.
What I got instead were photos that looked like they were taken underwater.
Blurry musicians. Red lighting everywhere. Weird shadows. Half the shots were unusable. I remember sitting at my computer thinking, "How do people actually do this?"
That moment is pretty common for beginners. Concert photography is one of the hardest types of photography to learn. The lighting is constantly changing, musicians move quickly, and flash is almost never allowed. But once you understand a few fundamentals, things start to click.
This guide will walk you through concert photography for beginners. I will share the mistakes that are usually made early on, the camera settings that actually work in dark venues, and how to start building a small concert photography portfolio. None of this requires expensive gear either. Just patience, practice, and a bit of curiosity.
If you are still at the stage of finding your first shows and breaking into local venues, read How to Start Concert Photography With No Experience.
What Is Concert Photography?
Concert photography is the art of photographing live music performances. That includes everything from local bar gigs and indie shows to large arena concerts and festivals.
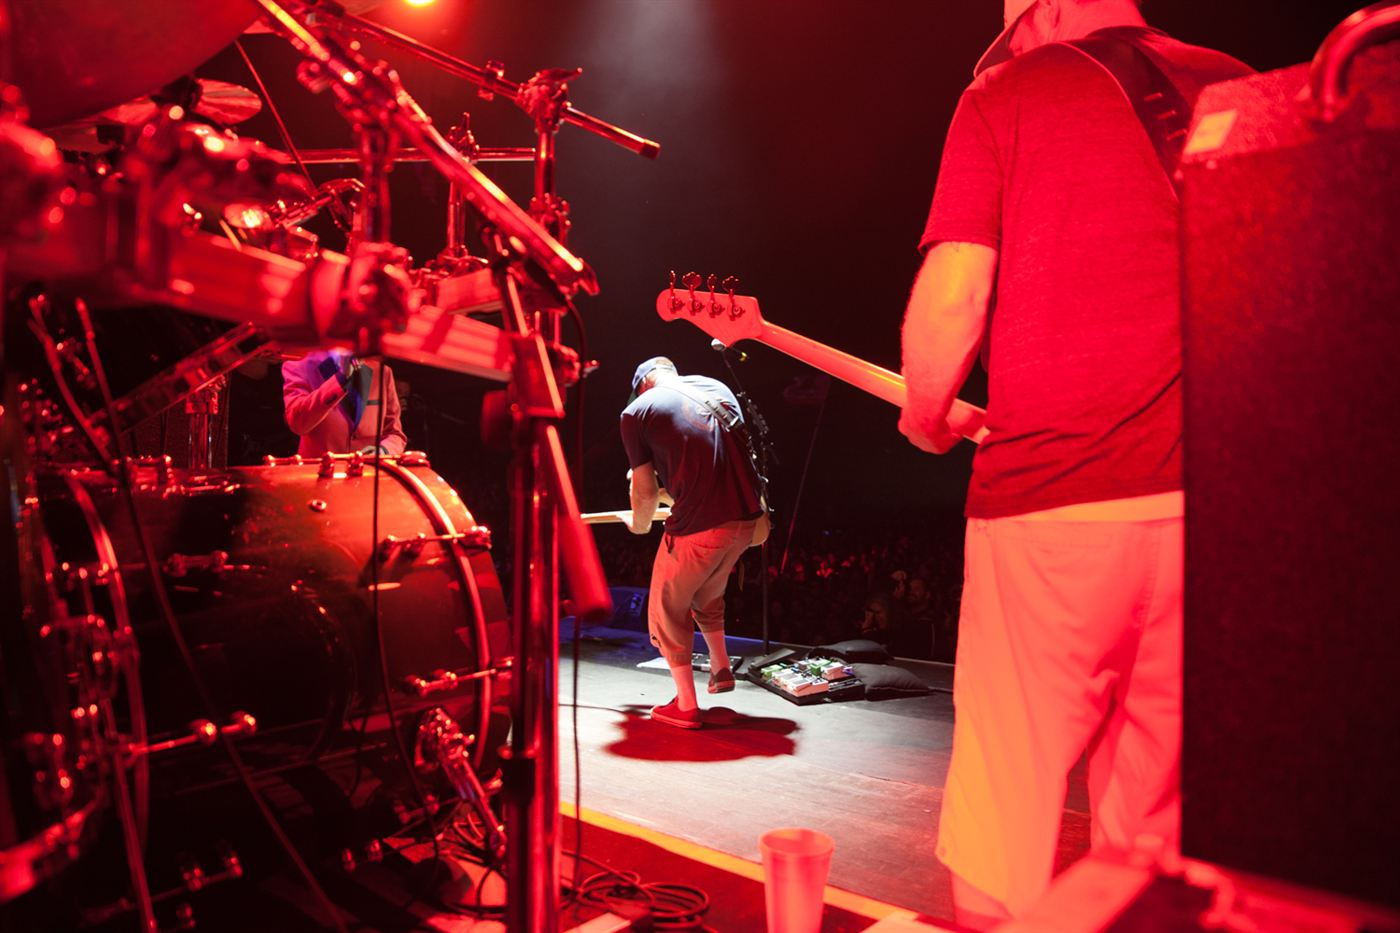
What makes live music photography unique is the environment.
The stage lighting changes every few seconds. Musicians move constantly. The venue is usually very dark. And the crowd might be pushing around behind you. It is not exactly a calm photography environment.
A typical concert scene includes:
- Extremely low lighting
- Fast moving performers
- Bright spotlights
- Colored stage lights
- Dramatic shadows
Because of this, concert photographers depend on three things:
- High ISO
- Wide aperture lenses
- Fast shutter speeds
I remember trying to shoot a guitarist during a rock show once with a shutter speed that was way too slow. The result looked like a ghost playing guitar. That was the moment it became clear that camera settings matter a lot more in concerts than most other photography genres.
Another thing beginners miss is that concert photography is about storytelling.
Anyone can photograph a musician standing there. Good photos capture moments like:
- A singer reaching toward the crowd
- A guitarist jumping mid solo
- A drummer exploding into a chorus
- A spotlight hitting a performer at the perfect second
Those moments happen fast. Learning to anticipate them is part of the fun.
Essential Gear for Beginner Concert Photographers
When people start learning concert photography, the first thing they worry about is gear. Cameras, lenses, accessories. The truth is you do not need a giant bag of equipment to start.
A simple setup can work perfectly fine.
Here are the pieces of gear that actually matter.
A camera that handles high ISO
Concert venues are dark. You will often shoot at ISO 1600, 3200, or even higher. Most modern mirrorless or DSLR cameras handle this well enough.
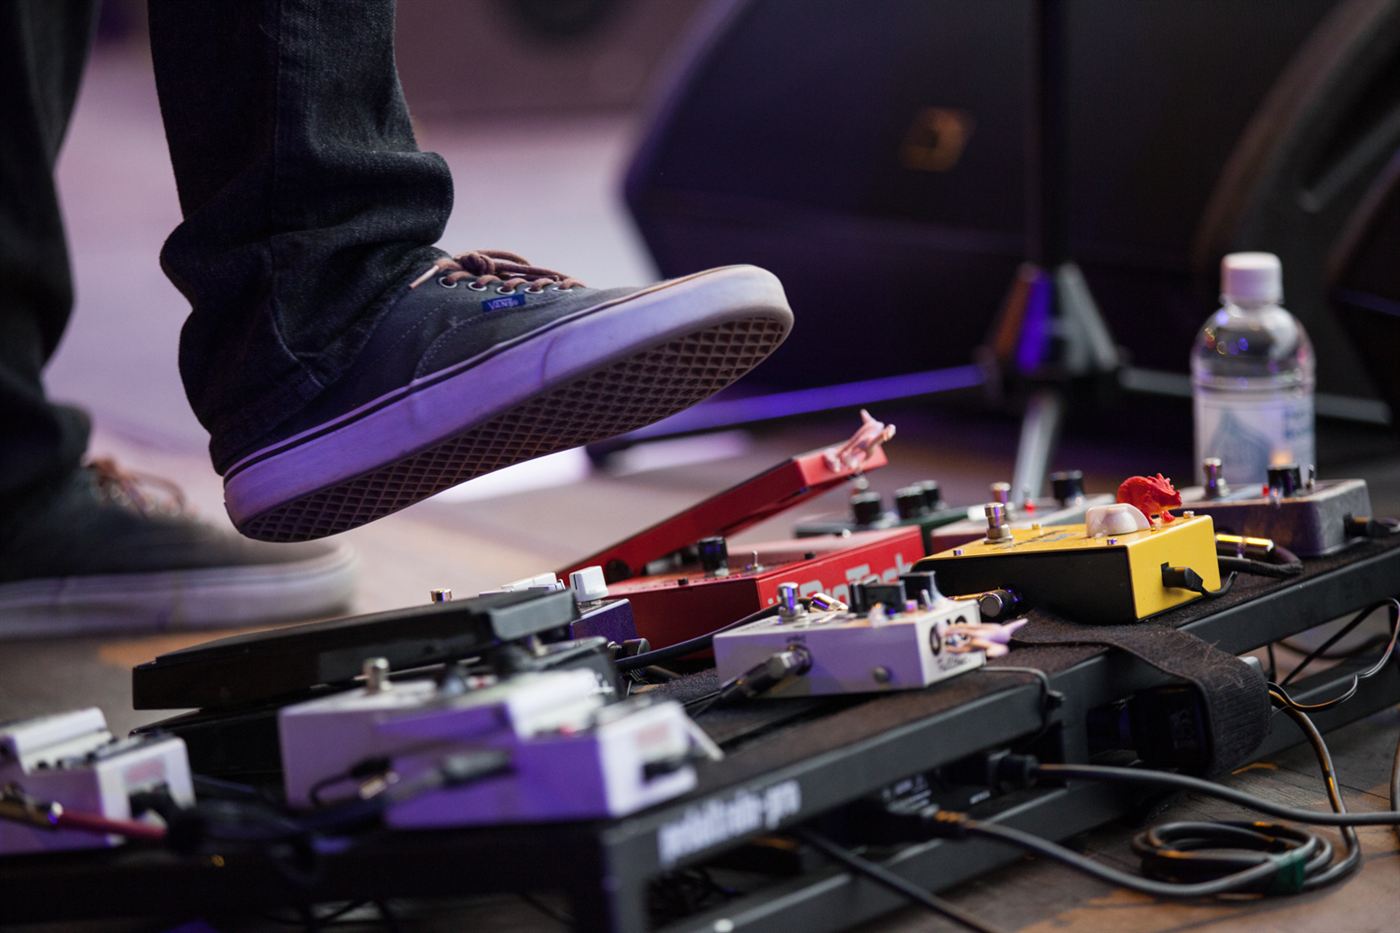
A fast lens
This is more important than the camera body.
A lens with a wide aperture lets in more light. That means better exposure and faster shutter speeds.
My concert photography lenses include:
- 15-35mm f/2.8
- 24-70mm f/2.8
- RF 70-200mm
The first lens I used was a 50mm f/1.8. Cheap lens, but it saved many photos that would have been impossible with a slow kit lens.
Extra batteries and memory cards
Concert photographers shoot a lot. Burst mode can fill a card quickly. Bring backups. Always.
Best Camera Settings for Concert Photography
Camera settings confuse beginners more than anything else. The lighting conditions at concerts change so quickly that automatic settings often struggle.
These are reliable starting points.
ISO
- Start around ISO 1600
- Increase to ISO 3200 or higher if needed
- Noise is normal in concert photography. Slight grain is better than blurry images.
Aperture
Use the widest aperture your lens allows.
- f/1.8
- f/2
- f/2.8
A wide aperture lets in more light and helps isolate performers from the background.
Shutter Speed
Musicians move quickly. Slow shutter speeds create motion blur.
- 1/200 for slower performers
- 1/320 for energetic bands
- 1/500 for jumping guitarists
Focus Mode
Use continuous autofocus so the camera tracks moving subjects.
Drive Mode
Use burst mode. A short burst increases the chances of capturing the exact moment you want.
How to Shoot in Low Light Concert Venues
Low light is the biggest challenge in concert photography.
The stage might look bright to your eyes, but cameras see something very different. Most venues are actually extremely dark except for spotlights.
The trick is learning to work with the lighting instead of fighting it.
Wait for good lighting
Not every moment is worth shooting. Stage lights cycle through patterns. When a bright light hits the singer, that is the moment to shoot.
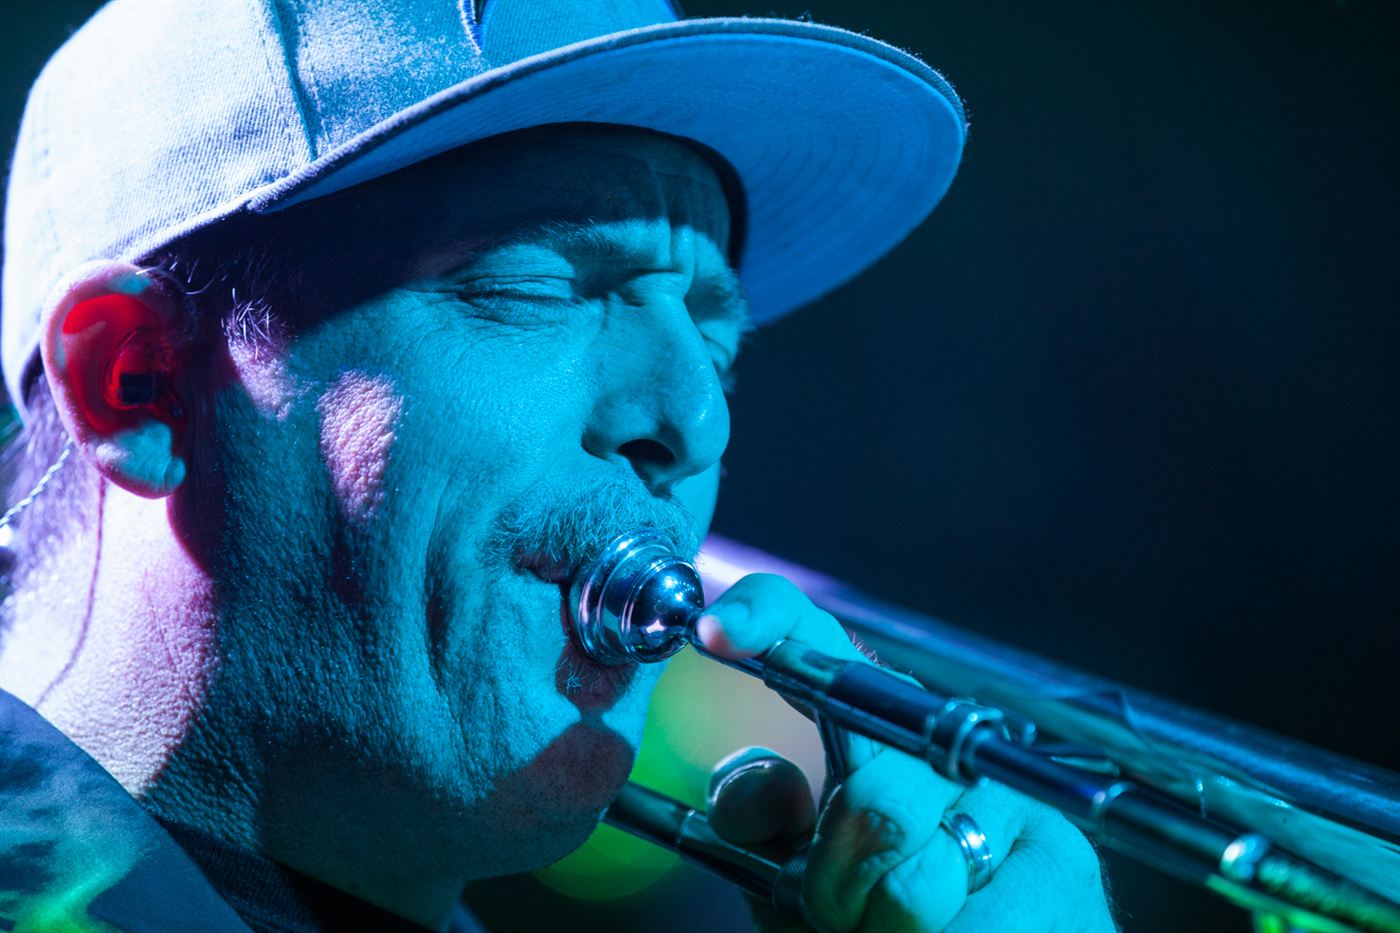
Expose for the highlights
Stage lights can blow out quickly. If a spotlight is hitting someone's face, expose for that area rather than the dark background.
Use silhouettes
Sometimes performers are backlit. Instead of fighting it, embrace the silhouette effect. Some of my favorite concert photos happened by accident this way.
Composition Tips for Concert Photography
Composition matters just as much as technical settings.
Early on I made the mistake of photographing everything straight on. Every photo looked the same. Just a musician standing there.
Changing composition makes a huge difference.
Shoot from different angles
- Low angle shots from the crowd
- Side stage perspectives
- Balcony views
Each angle creates a different feeling.
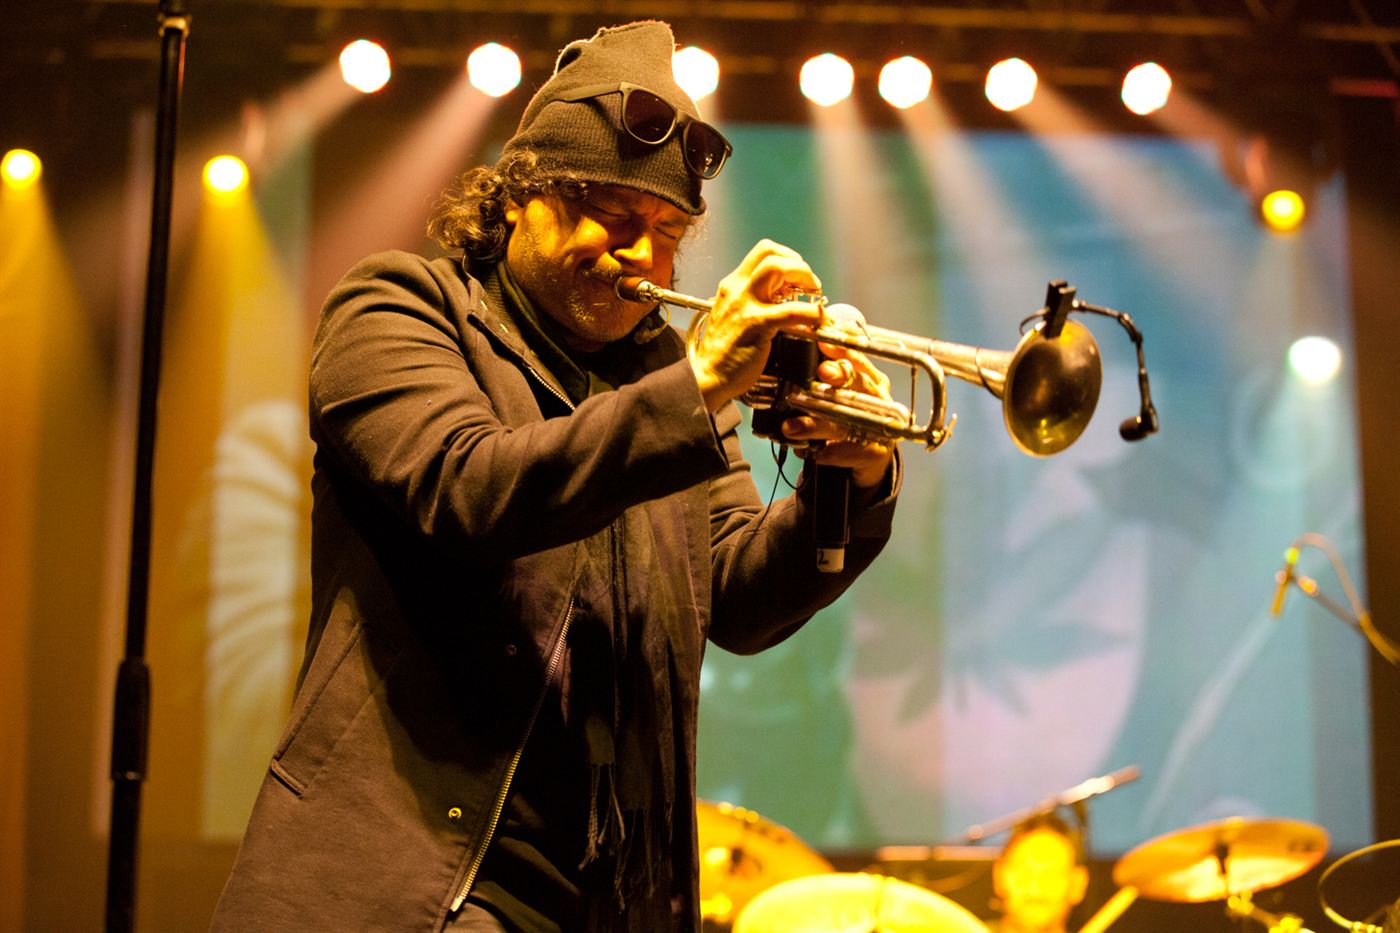
Use stage lighting creatively
Stage lights are powerful visual elements. Sometimes they frame the performer perfectly.
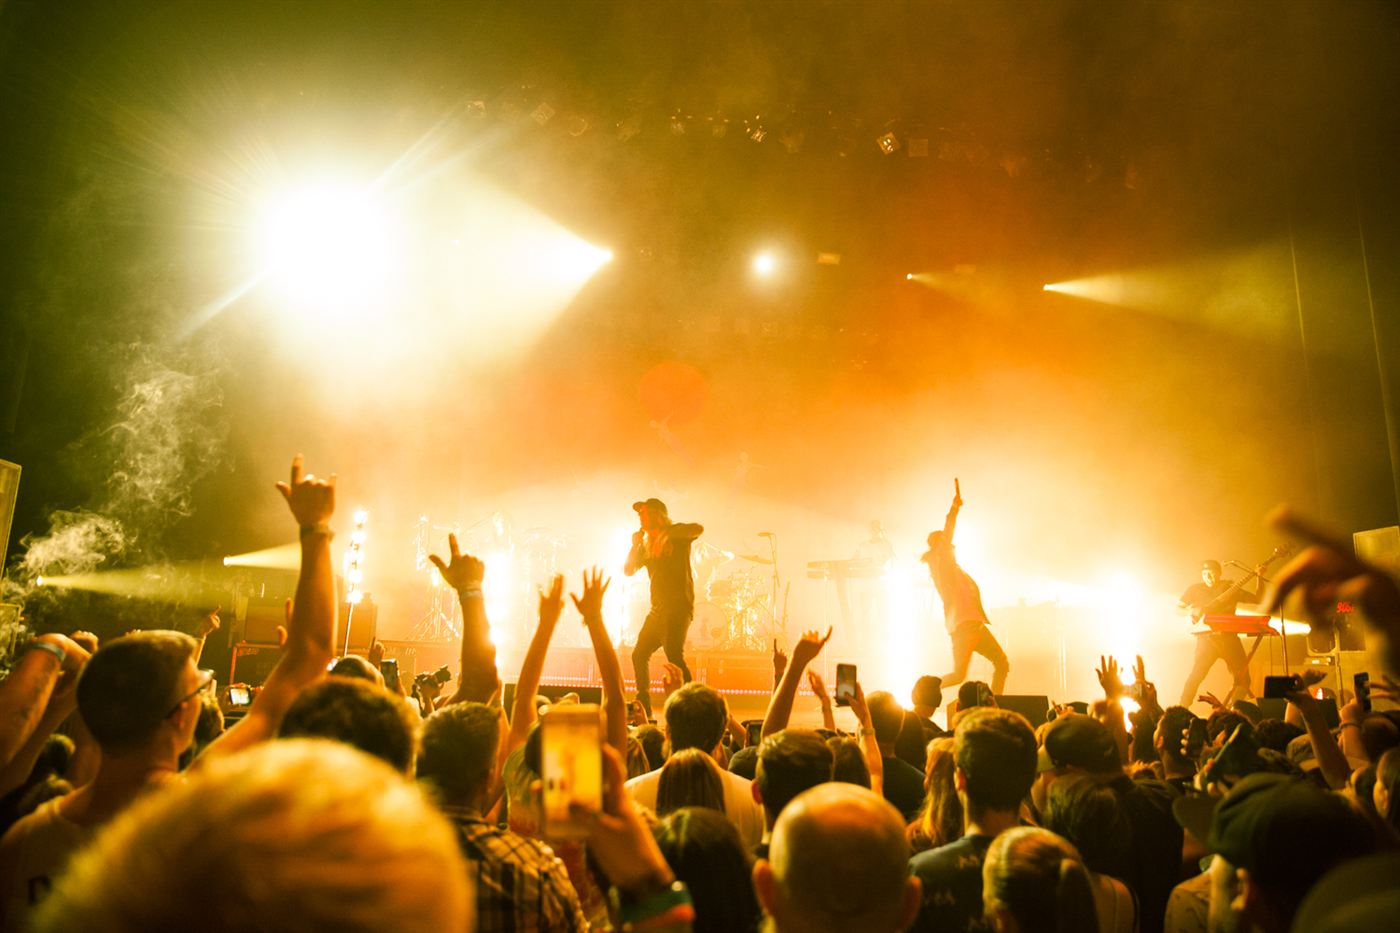
Include the crowd
Photos that include fans feel more alive. The interaction between artist and audience tells a story.
Look for emotion
The best concert photos show something happening:
- Excitement
- Intensity
- Exhaustion
- Joy
Capturing that moment is what makes a photo memorable.
Common Beginner Mistakes in Concert Photography
Everyone makes mistakes when starting. I definitely did.
These are the most common ones.
- Using shutter speeds that are too slow
- Standing in one place
- Overshooting instead of waiting for moments
- Ignoring stage lighting
- Relying too heavily on automatic settings
Watching the lighting and anticipating movement are skills that develop with practice.
How to Practice Concert Photography
The best way to improve is simply to shoot more shows.
Fortunately you do not need access to huge concerts to practice.
Good practice environments include:
- Small music venues
- Local band shows
- Open mic nights
- Community events
Small venues are actually perfect for beginners because you can move around and experiment with camera settings.
Another useful exercise is studying other photographers. Look at professional live music photography portfolios and analyze how they use lighting and composition. It teaches a lot.
Building Your First Concert Photography Portfolio
Once you have shot a few shows, you will start collecting strong images.
A beginner portfolio does not need hundreds of photos. In fact, smaller is better.
Try selecting 10 to 20 of your best images that show variety:
- Different musicians
- Different lighting
- Different compositions
- Different venues
This gives viewers a clear sense of your style.
Create a simple photography website or portfolio page and showcase your work. Over time this becomes useful when contacting venues, bands, or music publications.
Final Thoughts
Learning concert photography for beginners can feel overwhelming at first. Dark venues, unpredictable lighting, and fast moving performers create a challenging environment.
But those same challenges are what make it exciting.
The key lessons are simple:
- Use fast lenses
- Shoot with wide apertures
- Keep shutter speeds high
- Watch the stage lighting carefully
- Practice as often as possible
Every show teaches something new. Over time you begin to anticipate moments, understand lighting patterns, and capture the energy of live music in ways that feel natural.
And when you finally get that perfect shot of a musician mid performance, stage lights exploding behind them, crowd cheering... it is pretty addictive.
Grab your camera and start shooting shows. That is where the real learning happens.